Chair pockets are a perfect way to get extra storage in the classroom. Even if you are not crafty (like me), you can still make these classroom DIY projects for your classroom pretty cheap.
There are lots of ways to sew chair covers, including using pillowcases, book covers, or using your favorite fabric and a pattern.
Personally, I have zero sewing skills, so that option isn’t feasible without learning a new how-to. Instead, I had to get a bit more creative and find items that were inexpensive, yet high quality so my pockets didn’t fall apart after a month of students using them in school.
I love what I was able to come up with and they are heavy duty so they will last. They are also machine-washable which is a double thumbs up as any teacher knows. The kicker is that I was able to create any design and colors that complimented my classroom theme.
This project really only needs a few supplies and you could probably do a class set of 30 for about $50. Maybe less if you were able to ask for donations from local businesses.
The best part? You can make them to match your classroom theme! They match perfectly!
How to Make Chair Pockets
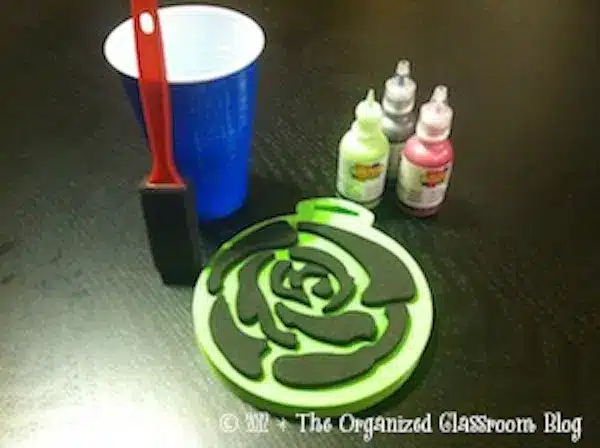
For the chair pockets, you will need the following:
- Waist aprons (one for each chair) – I found mine at Hobby Lobby for $1 each, though Home Depot also has really sturdy ones for 77-cents, BUT you will have to go an extra step with the Home Depot style and paint over their orange logo. You super crafty folks will have no problem covering that up.
- Fabric Paint
- Foam Paintbrushes
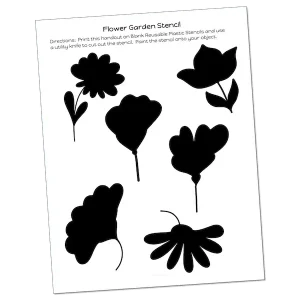
- Stamps (or the stencil below and Blank Reusable Plastic Stencil Sheets to use with your cutting machine)
- Plastic Cups
Steps Involved:
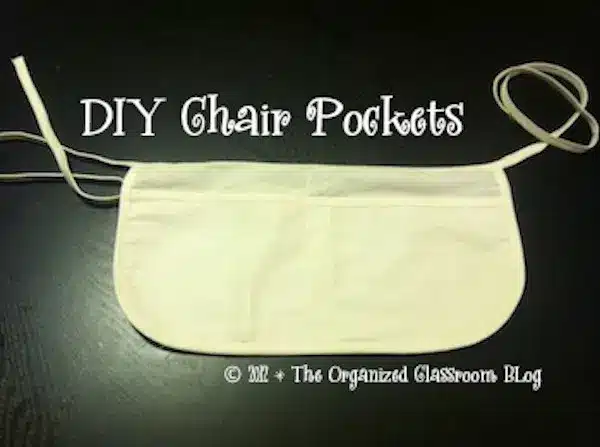
1. First, grab your plain apron. Make sure there is something under it to protect the surface you are working on. We did have some paint come through the other side on our kitchen counter, so make sure to cover that area.
2. Squirt some of the paint into a cup and then use the paintbrush to apply it to the bottom of the stamp.
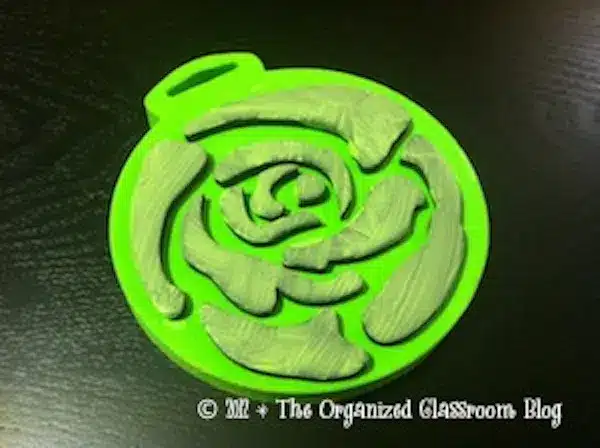
3. Place the stamp onto the apron, making sure to apply lots of pressure. In fact, the flowers that turned out the best were the ones where I actually placed all of my weight everywhere on the stamp before lifting up.
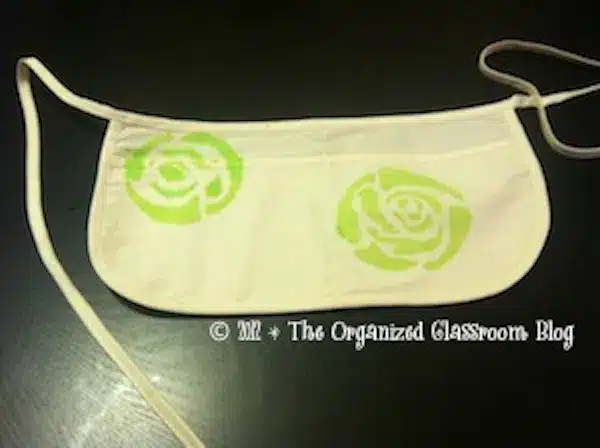
4. Add other colors and designs as you like.
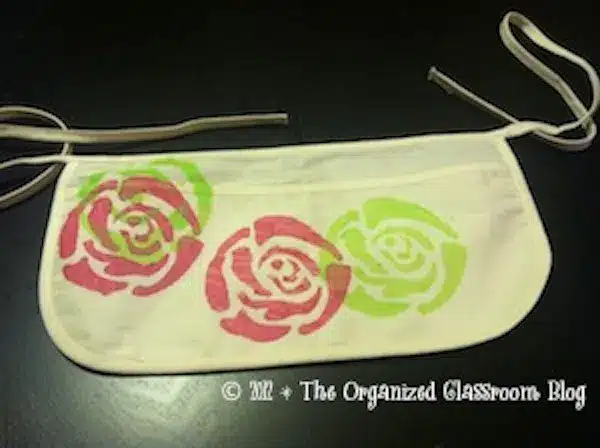
I did not wait until the paint dried in between colors, but depending on your design and colors, you may want to (I am a bit impatient – lol).
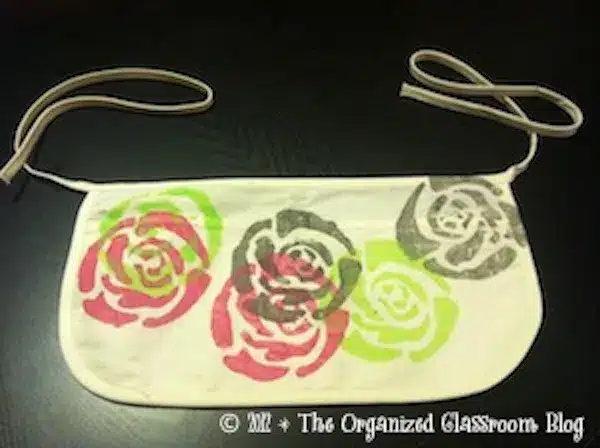
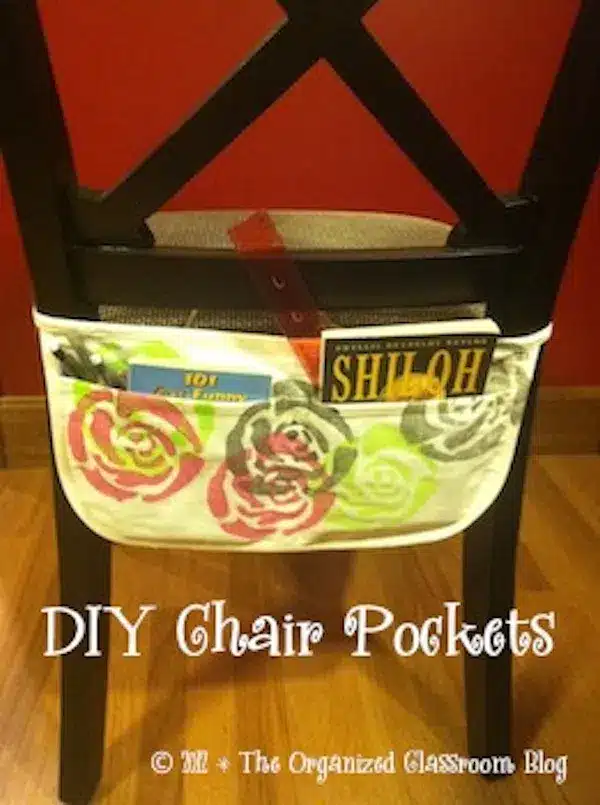
5. Hang on the back of the chair after it has dried completely. Just tie it backwards to hang.
Items to Place in a Student Desk Chair Organizer
You will not be able to add anything heavy as the apron would rip, but a silent reading book or two (depending on the weight of the book), pencils, rulers, or other lightweight items could be placed inside the pocket and out of the reach of idle hands.
A list of items that could be added:
- Lightweight book
- pencils
- dry erase marker/eraser
- pink erasers
- scissors
- glue sticks
- ruler
- calculator
- small dictionary
- markers
- bookmarks
- flashcards
If you decide to do this project, I would love to see it!
What are some other solutions you have used for extra storage in your classroom? I would love to hear in the comments below.
Need a fun Flower Garden Stencil template?
Upload the image file from below to your favorite cutting machine. Use Blank Stencil Sheets to make your stencil. Paint as usual onto your chair pockets.
Enjoy and happy creating!
~Charity

This post originally appeared at Organized Classroom.


Leave a Reply